Home / Preparing an Allen Garage Floor for Cabinets and Wall Storage
Preparing an Allen Garage Floor for Cabinets and Wall Storage
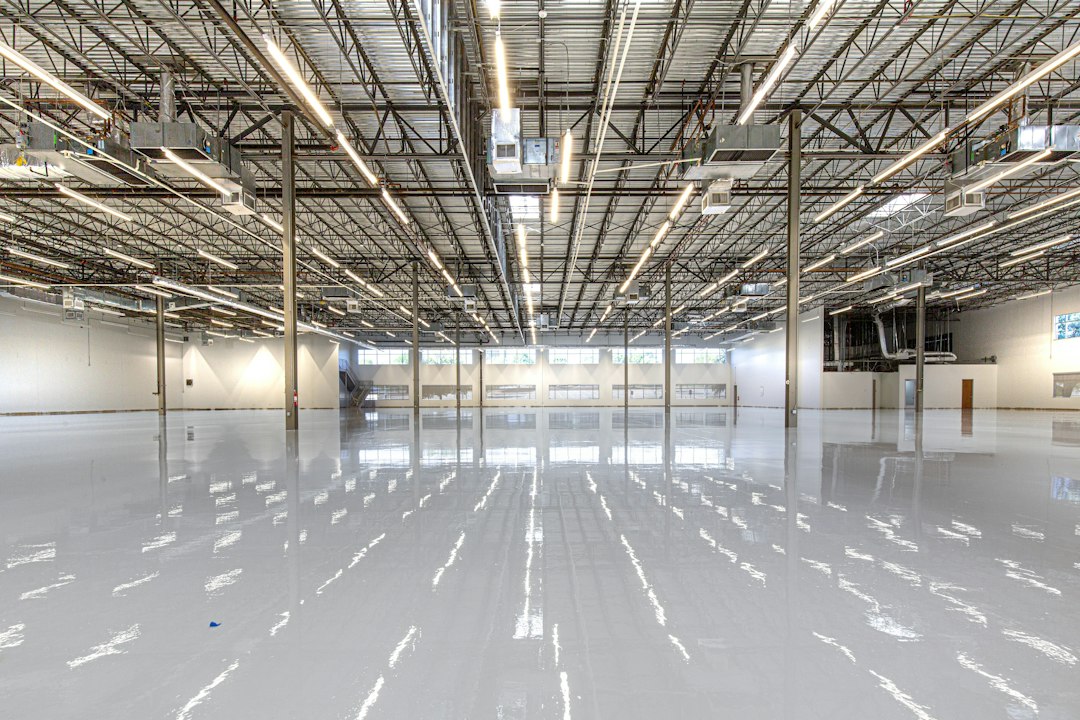
The question comes up in nearly every Allen garage remodel: should the floor be coated before the cabinets arrive, or after? The short answer is before, in most cases, but the reasoning matters because the exceptions are real. The decision touches cabinet leveling, toe kick gaps, moisture, and how well a coating bonds in the very spots that will carry the most weight for the next fifteen years.
The case for coating first
A cabinet run is long, heavy and awkward to move once loaded. If the coating goes down after the cabinets, the installer has to stop short of the cabinet base or squeeze a brush under the toe kick, leaving a seam that traps dust and spilled liquid. Coating first lets the finish run wall to wall. The cabinets then sit on top of a continuous, sealed surface, and the toe kick covers only a clean edge.
There is a second benefit that homeowners in Allen's 1990s and 2000s neighborhoods often overlook. Many garage slabs there slope slightly toward the door, and clay movement has tilted some corners over the years. Leveling cabinets on a floor that has already been coated means the installer can see the true slope, shim to it once, and avoid disturbing the cured surface later. Shimming first and coating afterward can hide a gap that the coating then fills unevenly.
Preparing the slab where cabinets will stand
Diamond grinding should cover the full footprint, including the area under future cabinets. It can be tempting to skip it, since the cabinet will cover it anyway. That shortcut leaves bare concrete under a heavy cabinet, which then wicks moisture from below and can stain the cabinet base or rot a particleboard side panel. A sealed floor under the cabinet blocks that path.
Before grinding, patch every crack and spall. Fine cracks along control joints are normal in Collin County, where the clay shifts with wet and dry seasons. Open each crack slightly with a grinder, fill it with a rigid epoxy or polyurea repair compound, and let it cure fully. Joints that are meant to move, such as the saw cuts that divide the slab into panels, should be filled with a flexible joint material rather than rigid epoxy, so the movement has somewhere to go.
- Remove oil and grease first with a degreaser, then grind, since grinding smears contamination into the pores.
- Vacuum with an extractor that traps fine dust, because dust left behind weakens the bond.
- Test a small patch with a splash of water: if it soaks in quickly the concrete is porous and ready, if it beads the surface is still sealed or contaminated.
Checking moisture before heavy storage goes in
Cabinets trap air against the floor. If vapor is rising through the slab, it has nowhere to go under a solid base, and the coating beneath can blister or the cabinet bottoms can swell. A moisture meter reading or a calcium chloride kit placed for a couple of days gives a number to act on. When the reading is high, a moisture-mitigating primer is the typical response, installed before the color coat.
Older houses near Bethany Lakes and the creek-side lots can run damper than homes on higher ground, because water tables and irrigation patterns differ lot by lot. It is worth testing each garage instead of assuming that a neighbor's good result carries over.
How cabinet footprints change the coating plan
Not every cabinet needs a full decorative system under it. A common compromise is to run the primer and base coat across the entire floor, then apply flakes and the clear topcoat only in the open areas that will be seen. That saves material and time, but the base should still be applied everywhere to seal the slab. The visible edge between the two zones should fall under the toe kick, where it will not show.
Some families plan the layout so a cabinet run stops short of a drain or a door opening. Leaving a hand's width of clear floor between the cabinet and the garage door seal keeps sweeping easy and prevents wet debris from collecting against the cabinet base. In a typical two car garage, an eighteen-inch walkway between cabinets and the parked car is also enough to open a car door without banging it.
Leveling and load spreading
Garage cabinets usually come with adjustable feet. These feet put the full load of a filled cabinet onto small circles of floor. On a cured, ground, well-bonded coating that is usually acceptable, but adding a plastic or rubber pad under each foot protects against dents and spreads the force. For tall units loaded with paint cans, tools and tires, a continuous rail or a plinth frame that sits flat is better than individual feet.
A cabinet that is not level will rack over time, with doors that stop closing and drawers that drift open. Take the time to check the first cabinet with a long level in two directions, then build the rest off it. If the slab has a noticeable tilt, shims under the plinth are cleaner than extending a foot halfway, since over-extended feet can bend under load.
Fastening cabinets to the wall
Tall cabinets should be secured to wall studs or masonry, mostly for safety. Drilling near the floor produces dust and, if done carelessly, can chip the coating edge. Put a strip of painter's tape along the cabinet base, vacuum while drilling, and use a drill stop so the bit does not slip. Anchors that expand, such as wedge types, should be kept well back from the wall base on slab edges, since pushing too close to an edge can crack the concrete.
Timing and cure windows
Allow the coating to cure before loading cabinets. Many systems are walkable in a day but need several more days before a loaded cabinet should slide over them. In North Texas summer heat the cure is faster, though too much heat during application shortens the working time and can leave marks. Early morning application, with the garage door closed against direct sun, gives the roller time to blend the edges.
If the garage has to be usable again quickly, a fast-curing clear topcoat reduces the wait, but the base coat still needs its own window, and skipping it creates weak layers. Plan for the full schedule, and move the boxed cabinets into the house or onto the driveway under cover in the meantime.
A simple order of work
- Empty the garage and mark where cabinets, a workbench and appliances will sit.
- Repair cracks, test moisture and grind the whole floor.
- Apply primer, body coat, flakes if wanted, and the clear topcoat.
- Wait for the full cure, then place cabinets with pads or a plinth.
- Anchor tall units to the wall and load them gradually.
Following that order costs a little patience but avoids the seam and the trapped dirt that come with working around a finished cabinet run. For homes with garages that serve as shop, storage and parking at once, a clean continuous floor under the cabinets is a modest decision that pays off every time the broom comes out.